简 述: 在 windows10环境下安装Qt Creator5.9.8作为c++的 IDE开发工具,学习和使用 qt框架学习
[TOC]
本文初发于 “偕臧的小站“,同步转载于此。
系统环境:
编程环境: win10 x64 专业版 1903 编程软件: Qt 5.9.8,Qt Creator 4.8.2 (Enterprise)
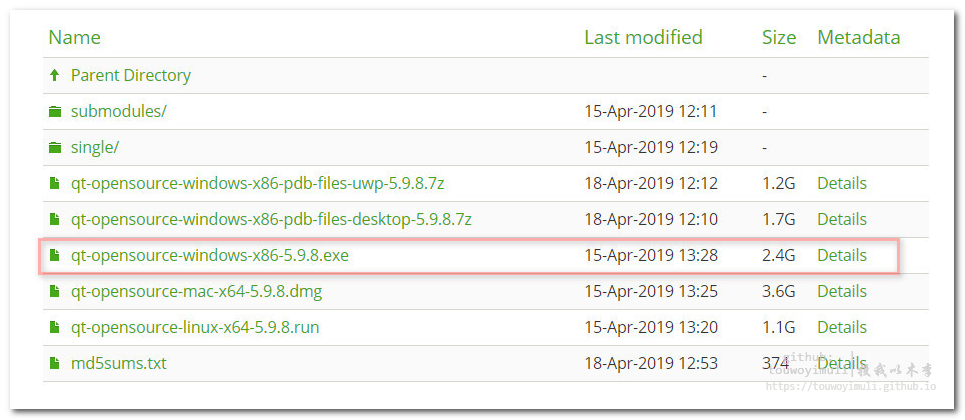
下载QtCreator:
qt官网下载地址: https://download.qt.io/archive/qt/
推荐下载⬇️的版本:
安装QtCreator:
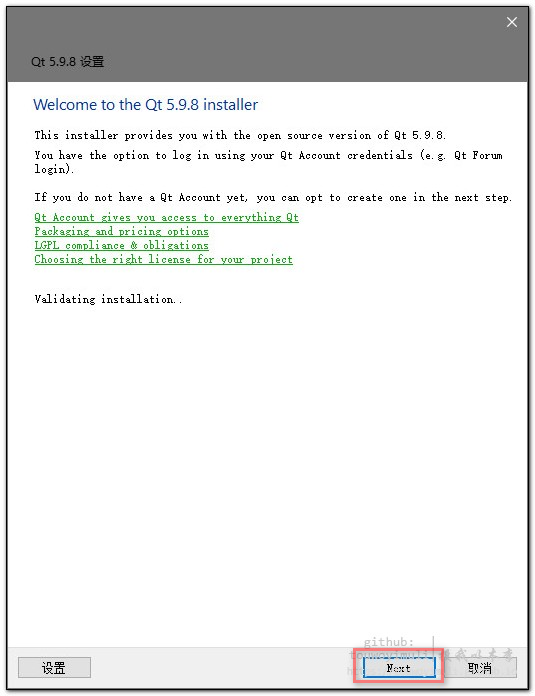
- 点击下一步(Next):
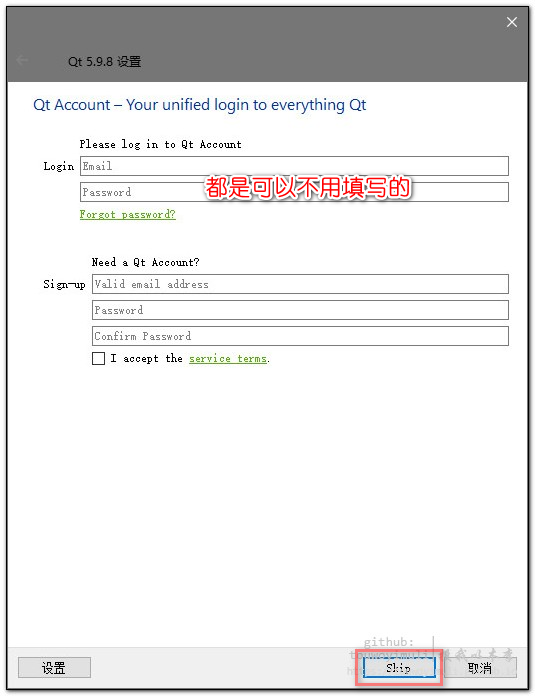
- 点击跳过(SKip):
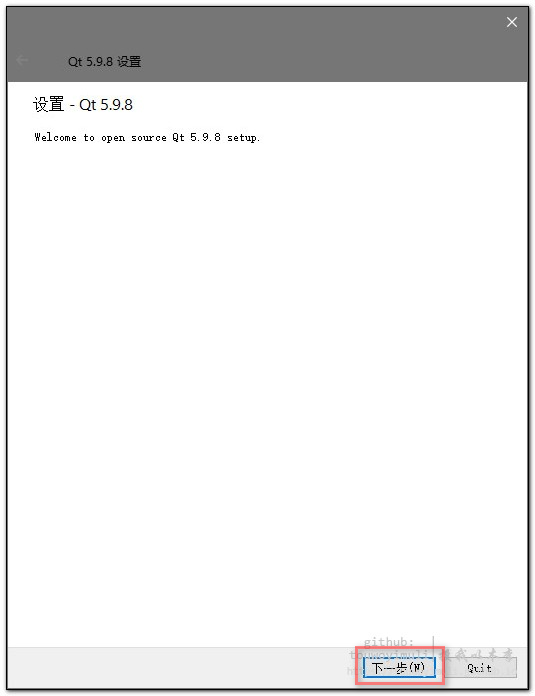
- 点击下一步:
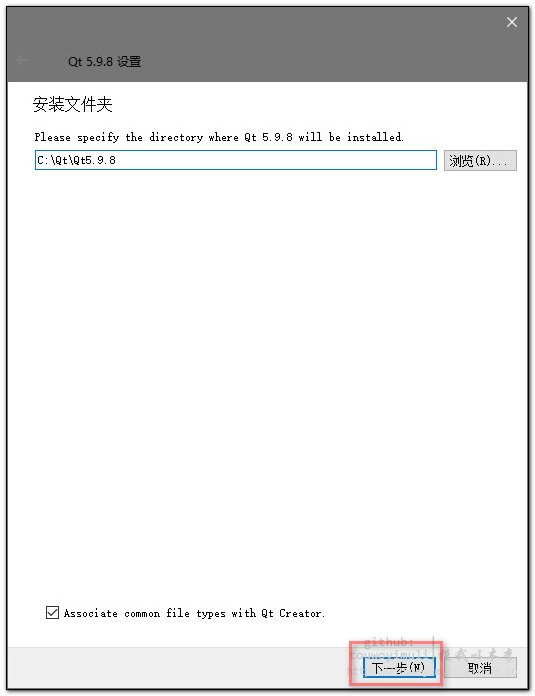
- 安装就选择默认位置,不建议更换其它盘,点击下一步:
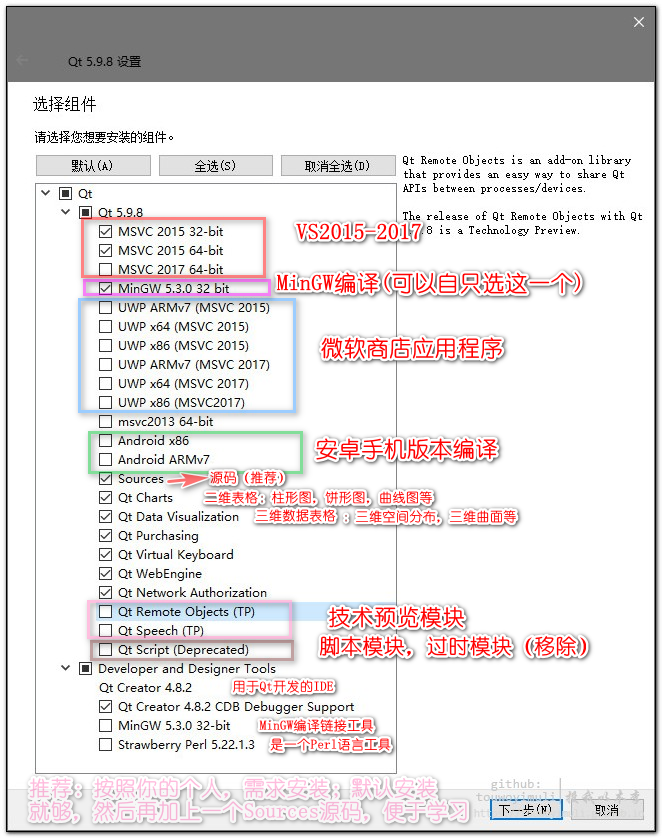
- 选中所需要的模块,勾选即可,如下是我的个人安装目录和所需要的模块;以及解释每一个模块的含义
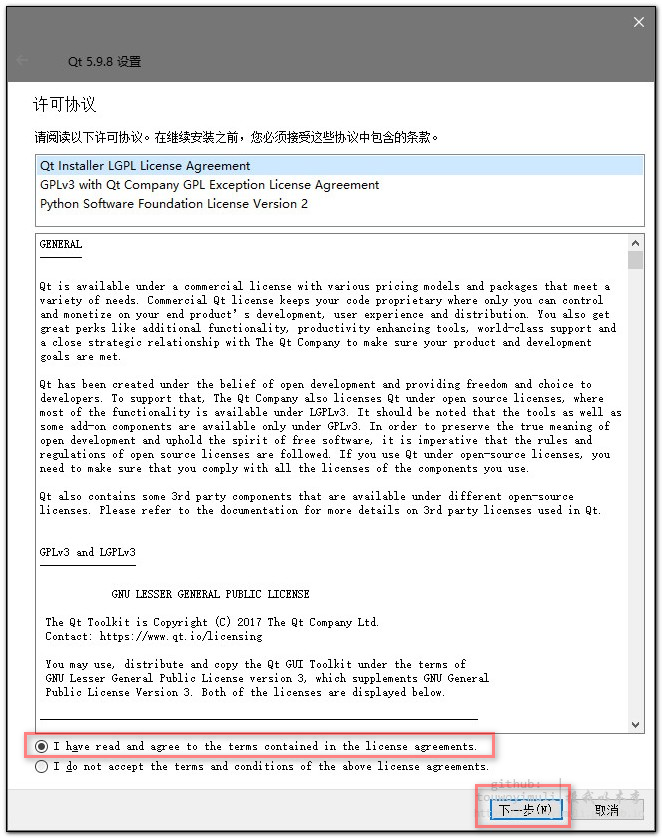
- 选中同意协议,然后点击下一步:
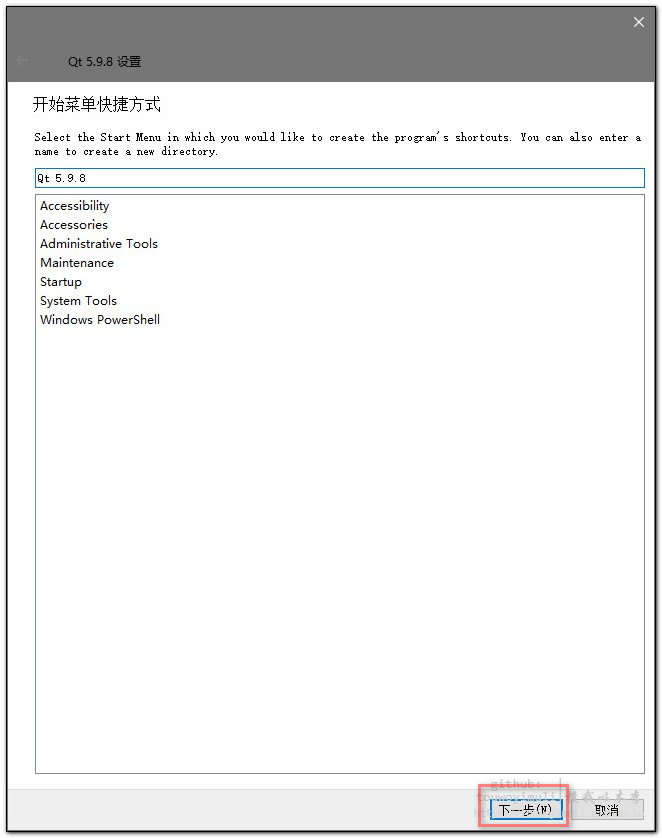
- 点击下一步:
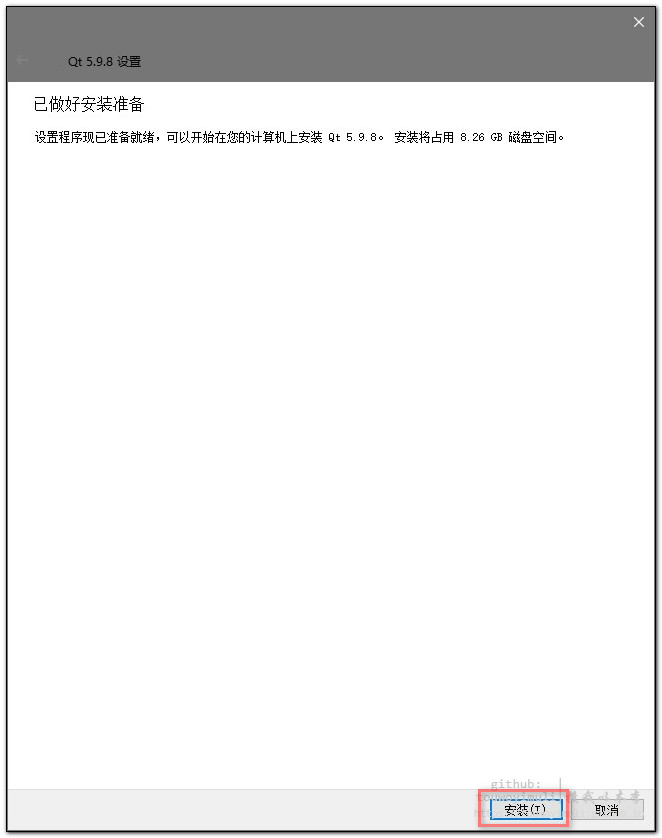
- 点击安装:
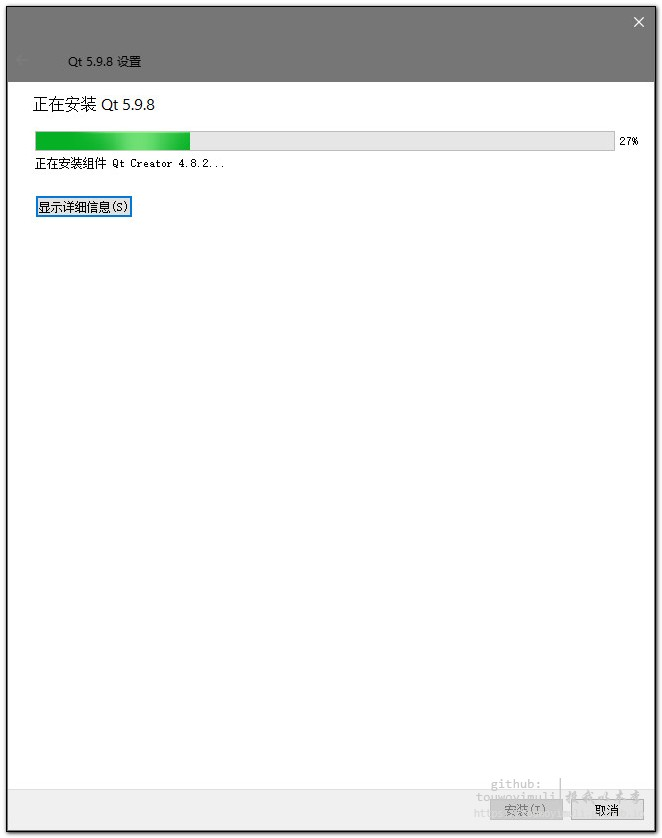
- 耐心等待安装完成,约10分钟即可安装完成:
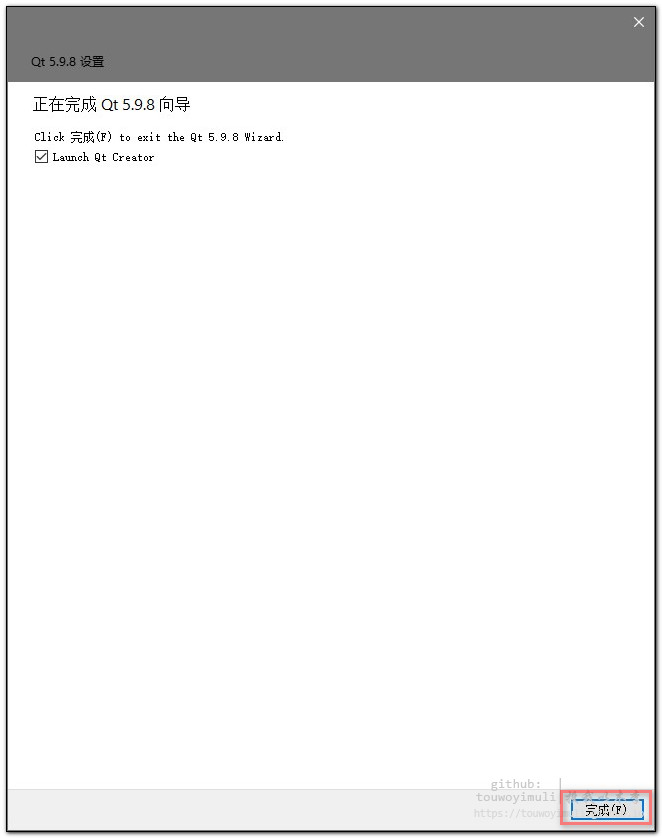
- 点击完成,到此,该软件成功安装完成:
验证安装成功:
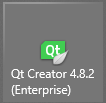
打开Qt Creator 4.8.2 (Enterprise)图标:
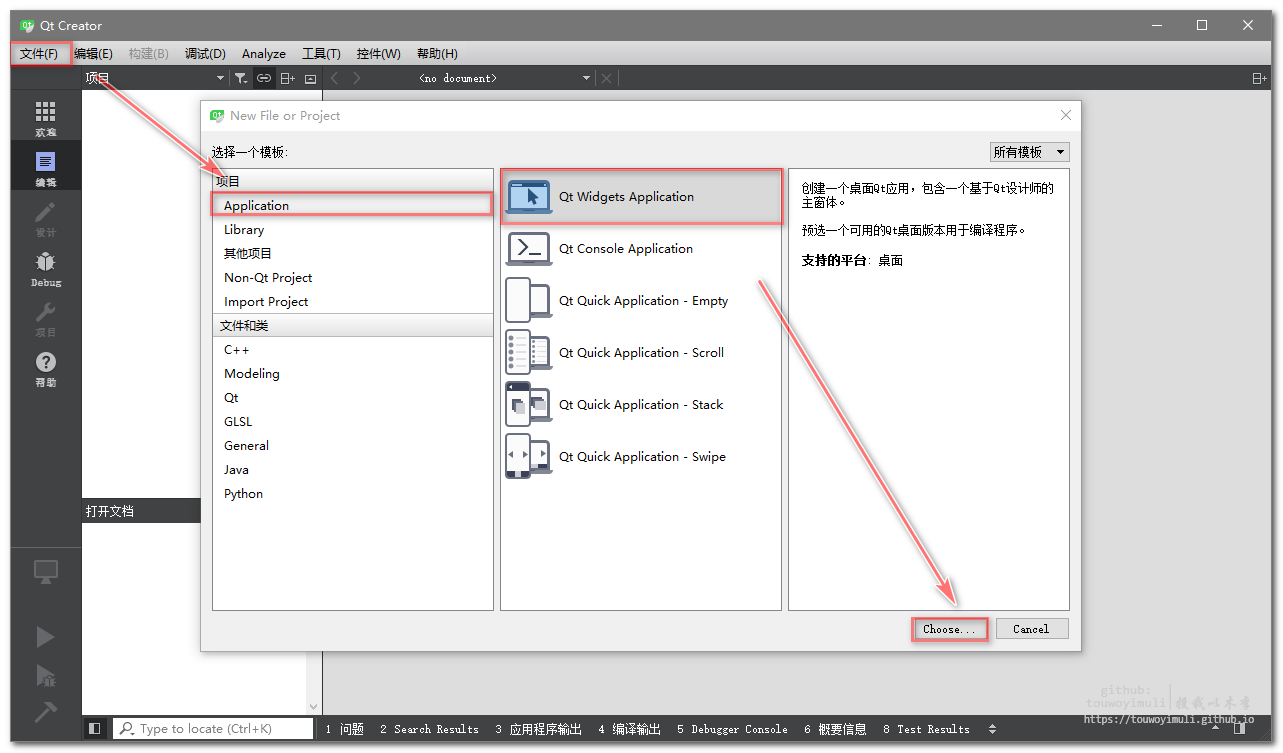
然后点新建一个空的项目工程,
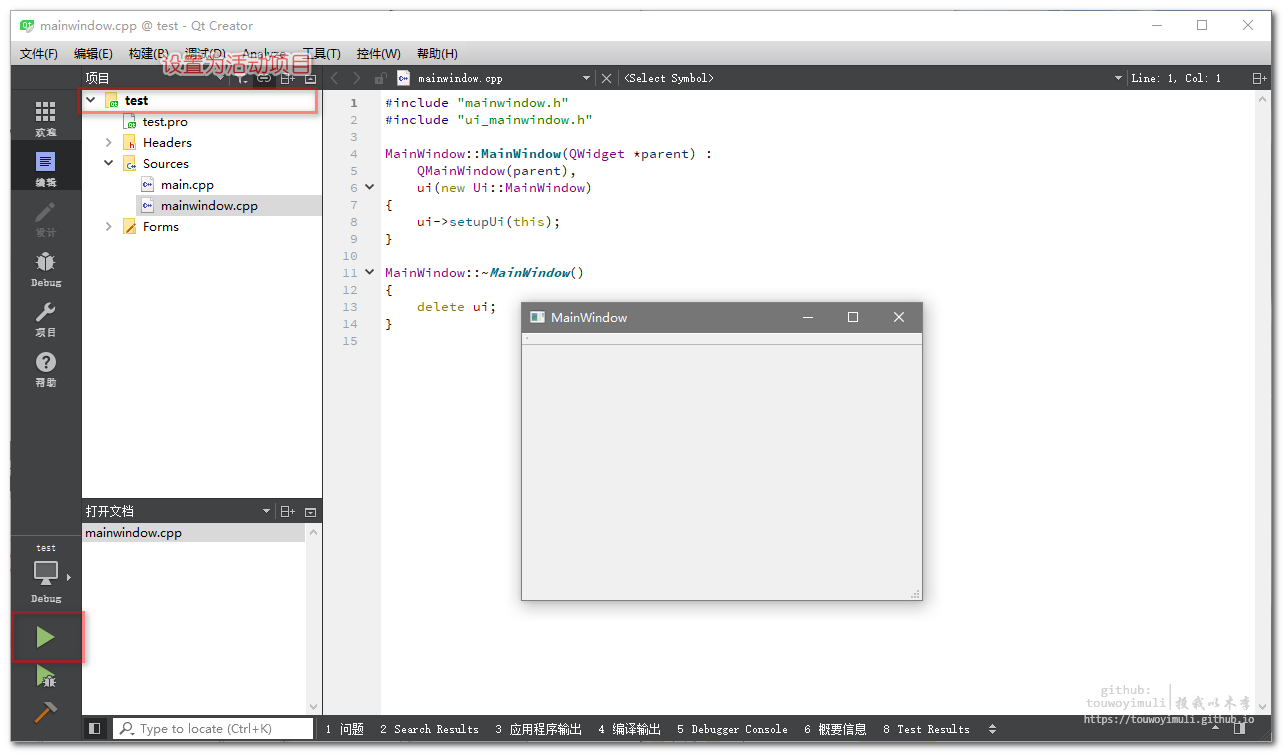
然后运行(那个播放按钮),看到如下界面,即表示安装成功,可以开始新的编码之旅:
推荐关闭插件:
这里推荐关闭右侧的标红提醒,详细参考此博文:Qt Creator 关闭.cpp文件右侧的黄色警告


