简介: Qt Creator 安装 Windows Software Development Kit(SDK)调试器【即CDB调试器】;使用MSVC编译项目,进行调试。
[TOC]
本文初发于 “偕臧的小站“,同步转载于此。
简述
Qt Creator 安装 Windows Software Development Kit(SDK)调试器。(使用MSVC编译项目,进行调试)。
编程环境: win10 x64 专业版 1803 操作系统版本:17134.285
编程软件: visual studio 2015, Qt Creator 4.8.2 (Enterprise), Qt 5.9.8
为什么安装CDB编调试器?

(1)Kits页面显示QtCreator可用的编译工具,在图中可以看到有3个编译工具可用。
(2)Qt Versions页面显示安装的Qt版本,有Qt 5.9.1MinGW 32bit、Qt 5.9.1MSVC201532bit
和Qt 5.9.1MSVC201564bit3个可用的版本。
(3)Compliers页面显示系统里可用的C和C++编译器,由于安装了MinGW和Visual Studio
2015,Qt Creator会自动检测出这些编译器。
(4)Debuggers页面显示Qt Creator自动检测到的调试器,有GNU gdb for MinGW调试器
和Windows的CDB调试器。
注意: 如果只是在计算机上安装了Visual Studio2015,显示的界面上MSVC2015的两个编译器的图标
会变为带有感叹号的一个黄色图标。Debuggers页面没有Windows的CDB调试器,可以用MSVC编译器对
Qt Creator编写的程序进行编译,但是不能调试,这是因为缺少了Windows Software Development Kit(SDK)。
这个SDK不会随Visual Studio一同安装,需要从Microsoft网站上下载。可以下载Windows Software
Development Kit(SDK)for Windows8.1,安装后重启计算机即可。
安装CDB调试器步骤
- 先关闭Qt Creator
msvc编译器使用windbg下的cdb调试器 所以需要安装windbg
官网下载链接:https://docs.microsoft.com/en-us/windows-hardware/drivers/debugger/debugger-download-tools
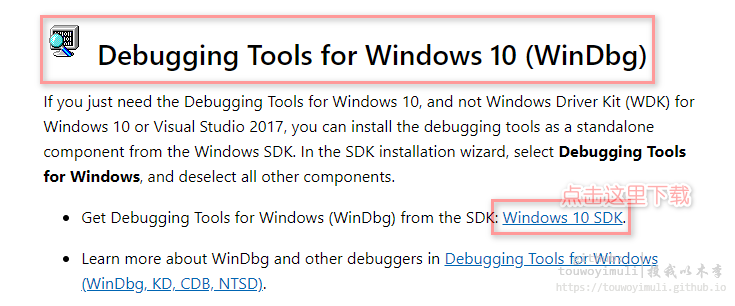
自动跳转到该页面
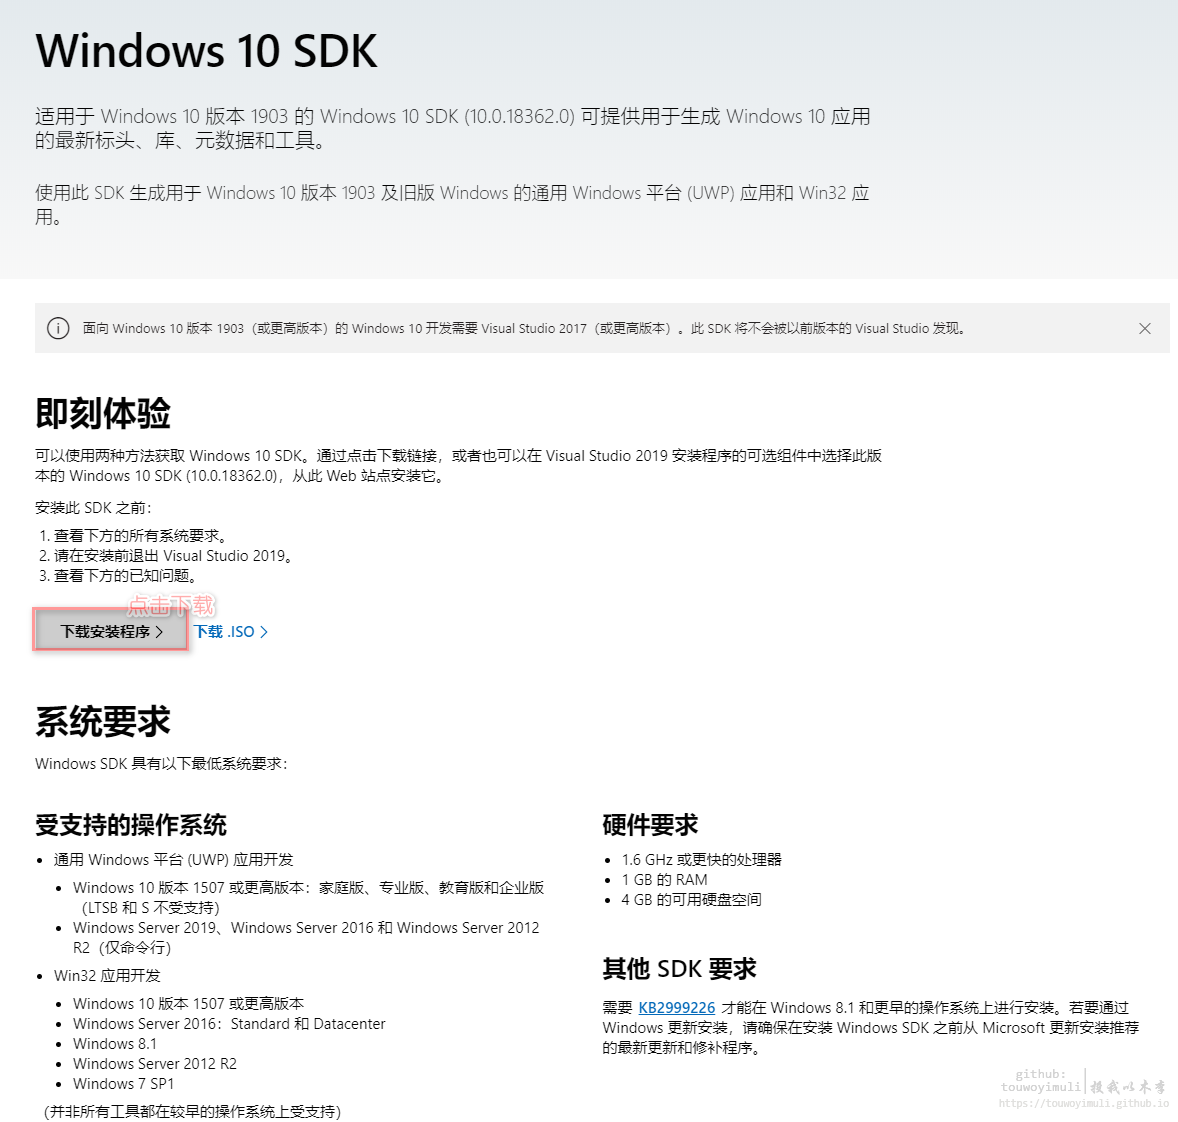
- 下载成功

- 右键管理员运行
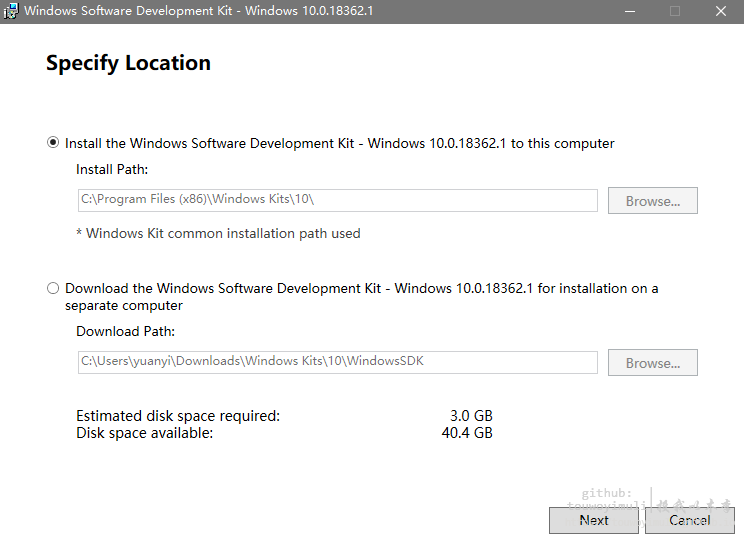
- 选择“NO“

- 只用安装调试工具即可
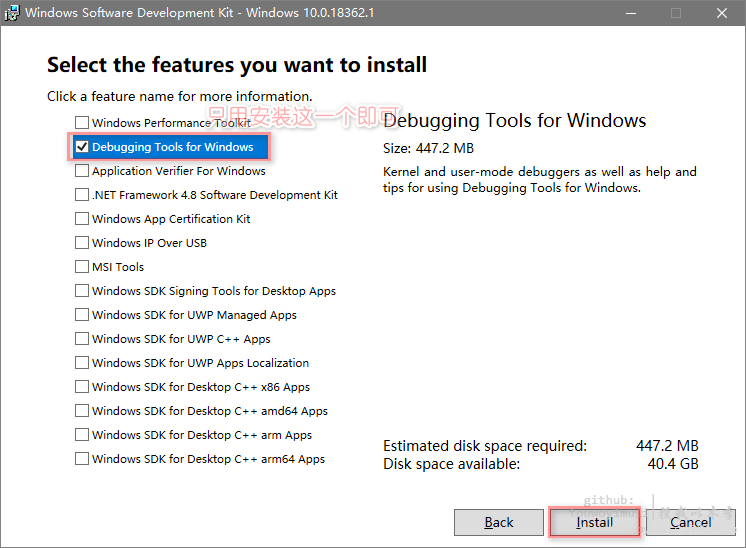
- 等待安装成功
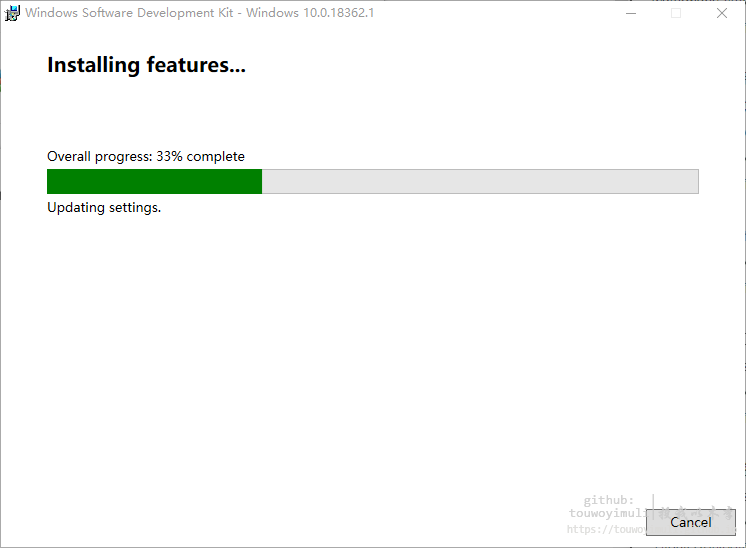
- 重新打开Qt Creator,在如图所示的位置进行修改
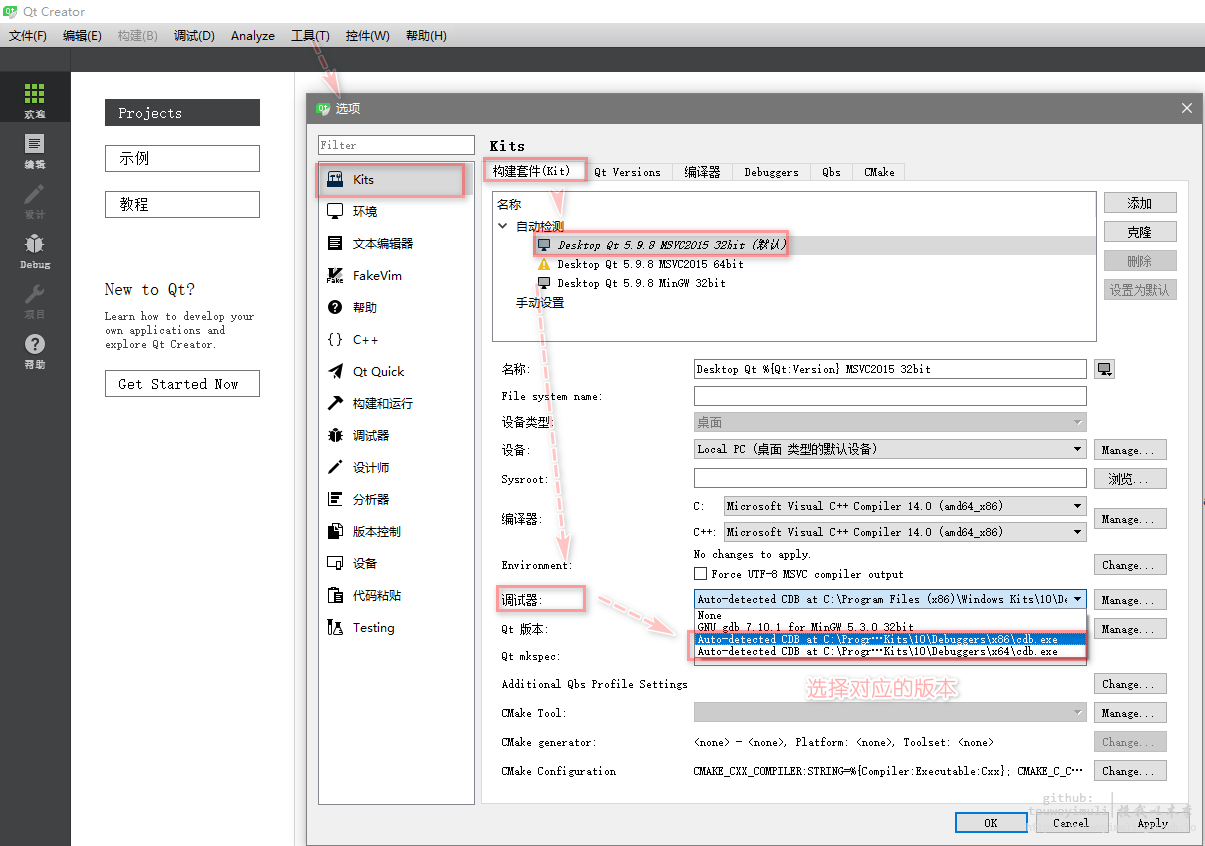
- 配置成功标志,参见本文第一张图


